Flower & Leaf Dyed Eggs
- Cai Dixon

- Mar 17, 2021
- 2 min read
Dying Easter eggs is a yearly tradition in our home. This year, Bella also dyed eggs at school. She described the method they used in the classroom and we attempted to do the same at home… the result was not what we expected.

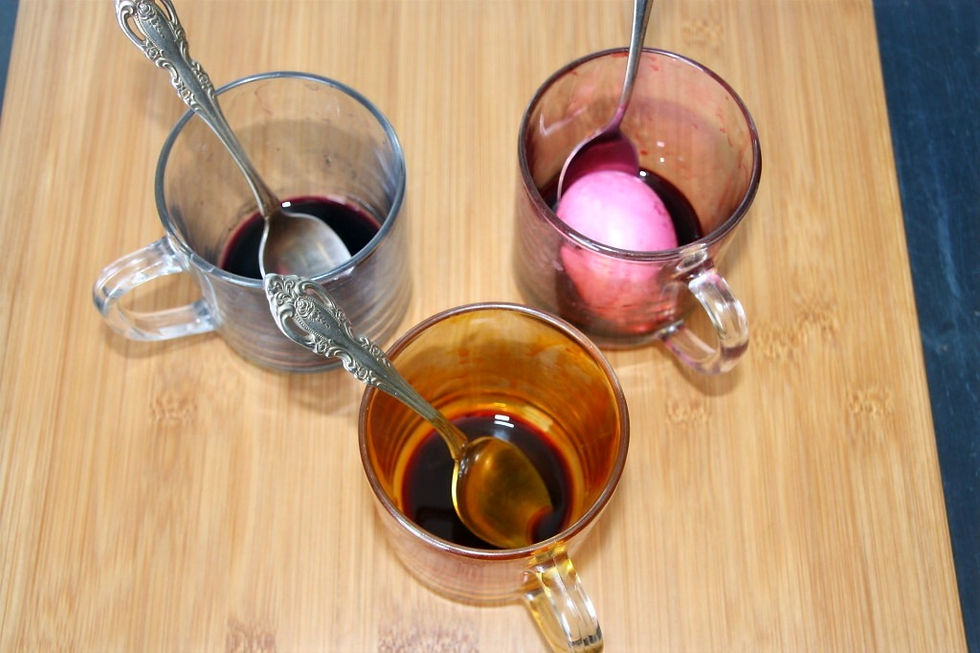
We began with elements of nature. Bella gathered leaves and flowers from the garden. We decided to use strawberry leaves and snack on the strawberries while we worked. We boiled a dozen white eggs and used a natural dye kit. Ingredients: pure annatto, radish and cabbage extracts
Bella described how they applied flowers and leaves to the eggs and then held them in place with a piece of nylon stocking. Then they dipped them and let them dry.
I don’t wear nylons. The closest thing I had was a pair of tights, so we cut that into pieces and dipped the stocking covered eggs into the dye. I had my doubts about this working, so we also dyed some eggs directly so our project would not be a total flop if the plant imprinting did not take.

The natural dyes were surprisingly rich. I was expecting them to be pale. Not the case – the colors were deep and the eggs absorbed the color well.
The flower and leaf imprint eggs did not quite turn out the way we planned. The tights were too thick and kept the eggs from absorbing the color… so we dipped them again with the leaves and flowers still attached and the result was quite beautiful.
Where we had intended a white imprint, the leaves instead made a dark impression – pulling a richer color into the design.

We couldn’t believe our good luck. It’s rare for an error to result in something better than expected – but that is what happened. Each leaf and flower left its own unique pattern on our eggs. A pretty collection of naturally dyed eggs now adorns our table. The Easter Bunny will be pleased.


Comments